Sunday, September 25, 2016

Giving Thanks

Hello everyone,

It's Donna here sharing a few of the newest Fall CottageCutz dies that were just released.  If you missed it, you can find them here.  I don't know about you, but I love the colors and the smell of Fall. The bright orange, browns, reds and yellows are so vibrant and makes the earth look so beautiful. Even though the leaves have not started to change, today it feels like Fall may be here soon.

Closer look of the card

I am featuring several of the new Autumn release dies, so lets get started on how I created my card.

1.  A2 card - 4 1/4 x 5 1/2,
2.  The first layer is 4 1/4 x 5 1/2,
3.  I cut the solid layer with the CottageCutz Rectangle Set (the largest die),
4.  I cut all the elements that I am going to use on the card,
,
5.  I inked the coffee cup from the Peppermint Latte set (isn't it cool that it is meant to be a Christmas set, but this set is so versatile you can change it up) and the small pumpkin from the Harvest Scarecrow set, the leaf  "Give Thanks" sentiment came from the Give Thanks set,
6.  I added all the elements to my card and glued them with wet glue.

Closer look of the card

closer look at the coffee cup

Don't forget about our newest challenge that is running right now. The theme is holiday and here is a link for more information.

I entered this card in the Coffee Lovers Blog Hop.

CottageCutz Dies used:


Saturday, September 24, 2016

Thank You Card in Pastel Shade

Hello dear friends !!!!

It's Anita here with new craft inspirations. As the days are progressing, the festive fever is catching up. Cardmaking is in full swing. Fall has made its entry and its time for Thanksgiving and fall cards.
Today, I have given a new colour to Fall .. light pastel blue.
It has a touch of Christmas with all that glitter and the yellow flowers give a hint of Autumn.
CottageCutz has released awesome Christmas and Autumn themed dies that you are going to love. Do have a look at them here.

My card for today.


Step by Step Instructions

Cut out a card panel 4 inches by 6 inches and using the circle die from CottageCutz Nested Ornaments-Ball cut a medium circle. Cut out two more circle frames using the same die and the CottageCutz Stitched Circle die.


Distress the card panel with Evergreen Bough Distress ink and score at 1/8 th inch interval on the scoreboard. .Distress the frame also. Apply some glitter on it.


At the back of the card panel, around the circle, put foam tape as shown. .
Turn back on the right side. Add a square piece of glitter paper to cover the back,

Add sequins inside. Cover with same sized acrylic circle and adhere the frame on top.


Cut out leaves and acorn from the CottageCutz Cornucopia die and colour them with distress inks.
Cut flowers from CottageCutz 3d  flower# 2 and colour them in pastel yellow. Shape between fingers and arrange with twine  and leaves. Add a sentiment at the bottom.


Here is the complete car


Do share your entries  in the current challenge# 6-holiday. Thanks for being with me.

Die used are here.


Friday, September 23, 2016

Suspended Spinner Ornament Card


Hello Scrapping Cottage friends! Thanks for taking the time to stop and visit today. It's Mary Marsh here bringing you the Friday edition of the Blog.

For the record- yesterday was the first day of Autumn. The temperatures are still soaring here in the Eastern part of the U.S. The gardens are still producing vegetables galore and that includes mine. But, nonetheless the summer season of 2016 is officially over (lol)!!!

So even though I feel like I should be showing beach style cards, Christmas is starting to knock on our door. With that in mind today I am bringing you a Christmas card using several of the new CottageCutz Christmas 2016 dies.

I have said before that I like making Christmas cards in non-traditional colors and that's what I have done today. I used the 
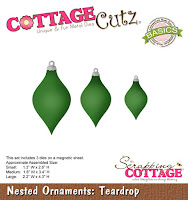
Nested Ornaments : Teardrop, the bow from the 
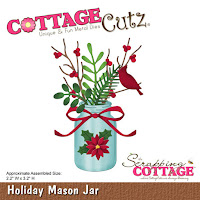
Holiday Mason Jar and the Christmas word from the Wisdom Tree Die.

I also tried my hand at a suspended spinner card for the first time. I don't have a video to show you but the ornament spins nicely. It will be a fun surprise when the recipient opens the card. I did find this video on YouTube that helped me create my card. My ornaments spin just like her Christmas tree does.  So let's get started with some details on how I created my card.

Mint Green Card Base:  4 1/4" x 5 1/2"
Patterned Paper Layer: 4 1/8" x 5 3/8"

1.  I started off by cutting my teardrop ornaments. For this card I used the smallest ornament in this 3 die set. I cut those in a denim blue color. I wanted to add a flourish to the ornament so I used the wisdom tree die and cut the bottom flourish in a hot pink shade. My camera is almost making it look red.
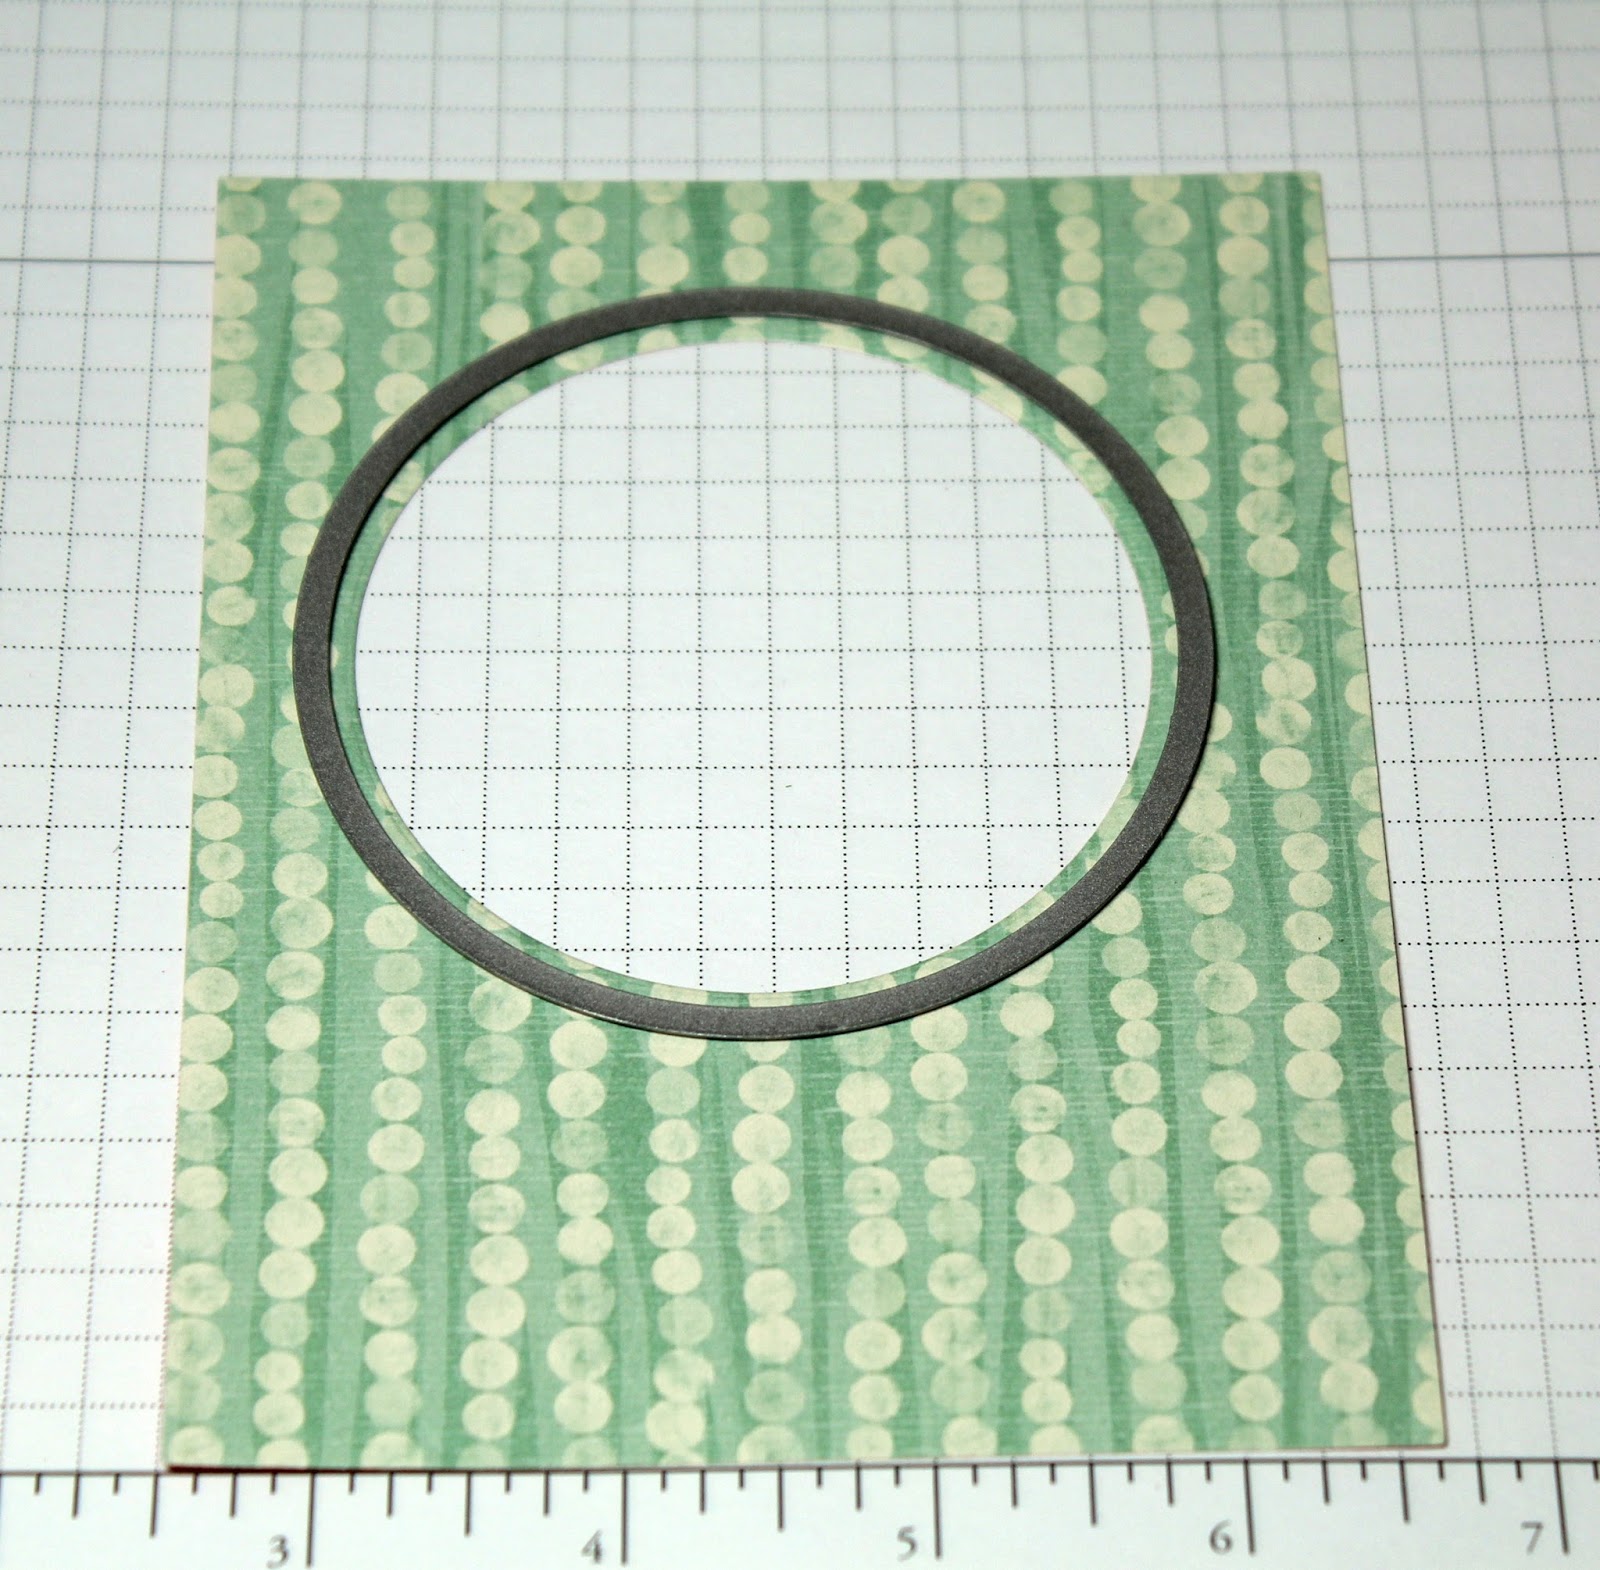
2.  The next step was to cut the opening in order to suspend my ornament. I used the 
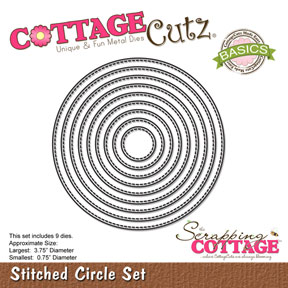
CottageCutz Circle Set dies (3rd largest) to cut both the patterned paper as well as my card base.
3.  Once the first opening was cut, I took the next largest circle die and this time just cut my patterned paper. I wanted to be able to see the underlying cardstock and give the appearance of a framed layer.
 
4.  Now I am ready to attach some gold metallic thread to the 2 ornaments and then adhere those together. I cut approximately a 5" piece of the gold thread and laid it in the middle of the ornaments. I used Tombow adhesive for this step. I used 2 ornaments so when it spins around you will see a finished back of the ornament. The silver dots were left after I cut the ornament tops. I thought they made a cute little embellishment.
 
5.  The ornament is now ready to be centered in the opening of the card base. I pulled the thread so it was taut and then taped it down and trimmed off the excess metallic thread.
6.  On this step, I attached the patterned paper to the card base. I wanted a bow over my ornament but did want to use ribbon. So, I used the bow that is part of the Holiday Mason Jar die set. This was cut in the hot pink color.
7.    My card is ready for the sentiment. I debated on whether I should stamp a greeting or use a die cut. Once I cut the Christmas word from the Wisdom Tree die in the hot pink color my mind was made up without even trying a stamped sentiment. I really like how the pink color complimented the mint patterned paper.
Well, Blogger friends that completes my card for this week. I hope I have given you some inspiration for the teardrop ornament dies. Don't forget about our newest challenge that is running right now. The theme is holiday and here is a link for more information.
 
So until next time........inky hugs!!!
 
http://www.scrappingcottage.com/cottagecutznestedornamentsteardropbasics.aspx

http://www.scrappingcottage.com/cottagecutzholidaymasonjar.aspx
http://www.scrappingcottage.com/cottagecutzwisdomtreeelites.aspx


Thursday, September 22, 2016

Elegant Deer

Hi, Vladka here!

I have another  Christmas card for you, this time with beautiful elegant Deer. So, let's take closer look to how I created it.


Basics:

Kraft cardstock for the card base: 4 1/4 x 6 inches (cut 4 1/4 x 12 inches, fold in half)
Additional piece of white and kraft cardstock and red cardstock for die cuts

Other Supplies:

CottageCutz Dies: Listed Below
Distress Ink:  Aged Mahogany, Peeled Paint, Forest Moss, Gathered Twigs, Brushed Corduroy
Other: Scissors, Paper trimmer, Sizzix machine, Scor-buddy, White watercolor in tube, piece of  dish sponge

1. First prepare the card base and use the biggest Cross-Stitched rectangle die and cut the rectangle out of white and kraft cardstock. With the scissors, cut of the white snow hill.


2. Put some white watercolor on the piece of dish sponge and drag gentle over the rectangle and card base. You can do the same later also on all die cuts.


3. Cut the Elegant Deer out of white cardstock and color it with brown distress ink.


4. Cut the Holly and Beries out of white cardstock and color ot with green distress ink. Cut also greeting out of red cardstock. You can apply some white paint also on these pieces.


Now put all pieces together as shown on my finished card!


I hope you like it. Have fun creating. And don't forget, sixth CottageCutz challenge is waiting for you. This time theme is HOLIDAY. You can linked your project here. And please, use only Scrapping Cottage dies.


Tuesday, September 20, 2016

Puppy with a gift

Hi, Janja here!

Summer is going away and nature is already flirting with autumn colors. But on my desk Christmas is still everywhere.


For the card we need:
- white scalloped card base: 5.3 x 5.3" (13,5 x 13,5 cm)
- green striped paper: 5 x 5" (12,6 x 12,6 cm)
- two patterned paper
- white and color cardstock
- Distress ink: Festive Berries, Aged Mahogany, Mowed Lawn, Peeled Paint, Black Soot

Trim green striped paper and place it on a white card base. Cut out a frame with the largest die from stitched wide circle frame set. Also cut out a circle with the largest die from the circle set.


Now we start with a puppy. We prepare cutouts from color cardstocks. Ink edges of cutouts and assemble the puppy.


On the upper part of the frame add some holiday greenery with spruce stems. Assemble poinsettia bloom and ink the edges.


Cut the tape and wrap it around the frame. Put the frame on circle and fix it with foam tape on green striped paper.


Complete the card. 


The puppy is so cute, that we can use this die also for other occasions during the year.


I would like to remind you on our challenge #6 - holiday. You can get more info here.

Hope you enjoyed my post for today.