Monday, June 20, 2016

Are You Ready for a Latte?

Hello everyone,

It's Donna here with another clean and simple card for your inspiration.  Who loves coffee?  I do!  I drink at least one cup a day.  The Scrapping Cottage has some really cute coffee dies and I am using the "Cup of Latte" on my card today.


How I put my card together:

1.  Card base A2 4 1/4 X 5 1/2
2.  The design papers measure 2 1/2 x 2 1/2
3.  I cut a small piece of design paper and tucked it under the pink layer
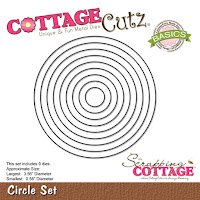
4.  Cut the circle out of the cross stitched circle die (third die from the largest)
5.  Stamped my sentiment
6.  Die cut all the pieces from the Cup of Latte die set
7.  Put the coffee pieces together
8.  The steam coming out of the cup is cut from vellum

All done!  This is such a cute card and I love this die set....you will see this again.  CottageCutz has a new release for this month, I hope you will stop over at the store and check it out.  All of the new release is 25% off.  Come back and visit the blog soon, the design team will have some wonderful creations for your inspiration!

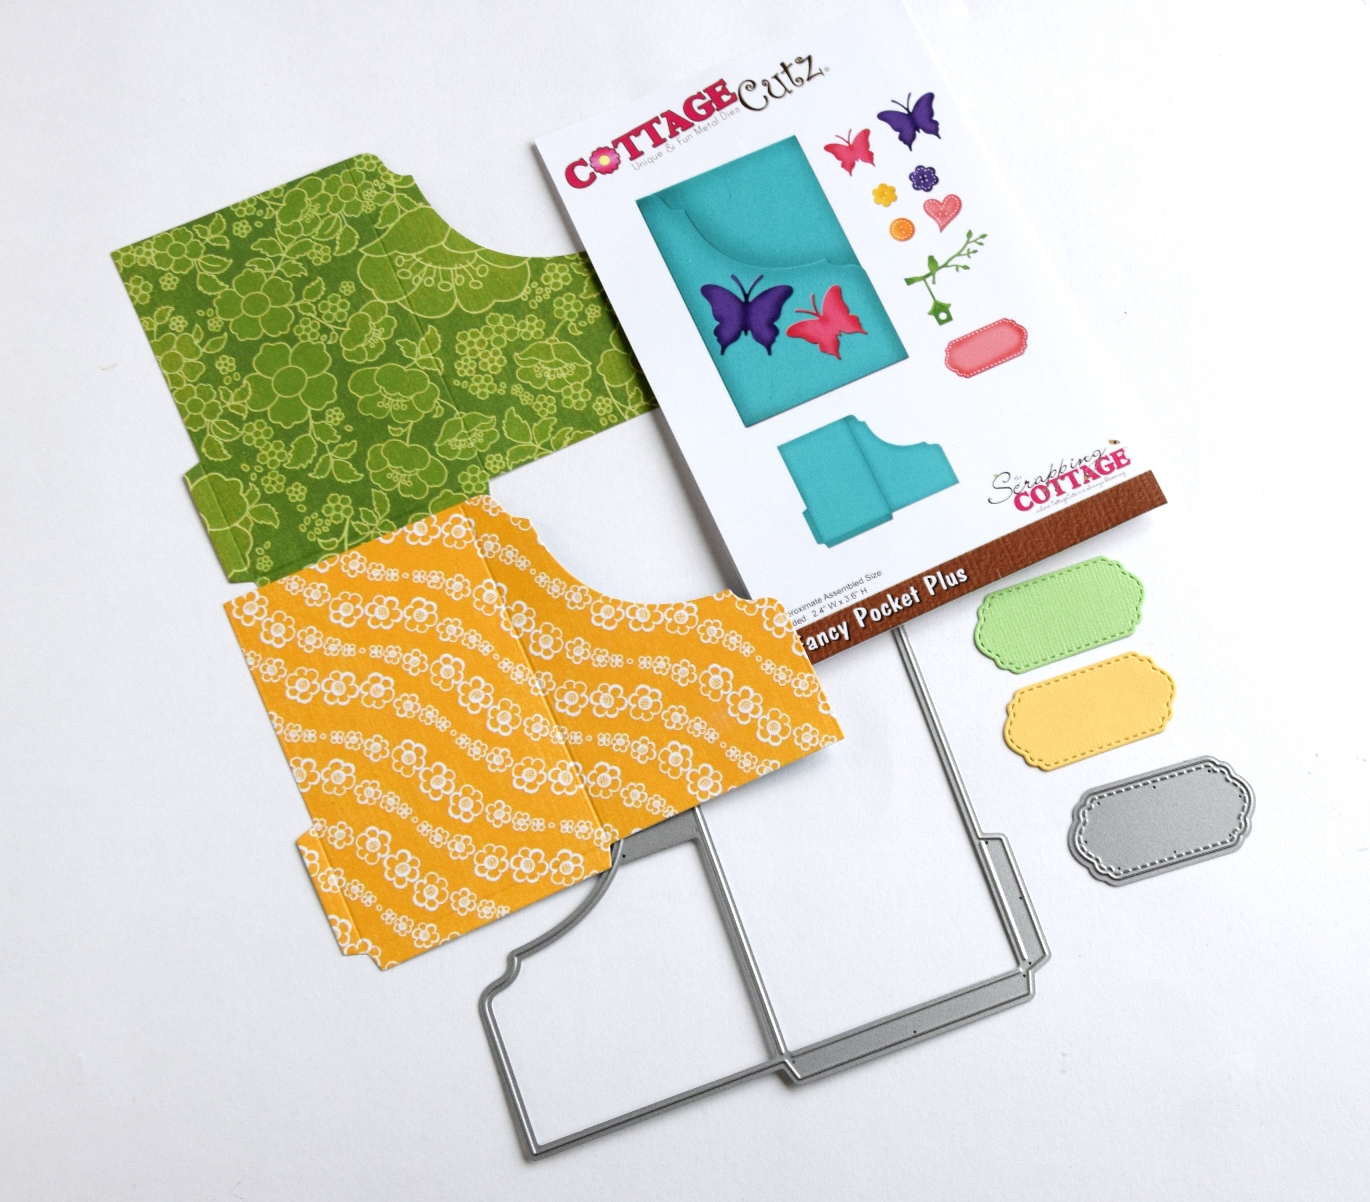
If you have a chance check the new challenge on the CottageCutz blog. The theme is Pocket.  I hope you will play along for a chance to win some products from CottageCutz!

Entering this card in the "Summer Coffee Lovers Bloghop"

Dies I used for my card:


Sunday, June 19, 2016

Fancy Pocket for candy


Hi, is  Yuliya 
Welcome to my new post where I will show you how to make this Fancy Pocket for candy, using CottageCutz dies!)
Here is list of all supplies I used:
CottageCutz Dies:
- CottageCutz Fancy Pocket Plus
- CottageCutz Expressions Thanks
Other: Sizzix machine, glue, patterned paper to die cut the fancy pocket, cardstock
Let's get started!
1.  . Cut out the fancy pocket from patterned paper in three different colors.
2. Glue
3. I glue the labels
 4. 
 5. 
 6. Really Fancy Pockets!)
And don't forget, third CottageCutz challenge is waiting for you. This time theme is POCKET. You can linked your project here. And please, use only Scrapping Cottage dies.


Saturday, June 18, 2016

Pretty Pink Card

Hello friends !!

Happy Saturday !! It's Anita here with another pretty pink card with CottageCutz dies.
Have you seen the CottageCutz This and That release !!! I just loved it !!! All the dies are just amazing and some of them are so cute.
So let me show you my card today. It is a simple pink card but I have shaded the flowers in a rich pink colour to add some glamour to it.


The finished card meausures 5 inches x 6 inches

  1. Make a card base with white card stock measuring 5 inches x 12 inches and score at 6 inches. fold and score at 1/8 inch interval on the card front on the score board. 
  2. Cut out a curved portion from the bottom as shown and add a dark pink card paper at the back.
  3. Make flowers with the CottageCutz 3D flower # 4 and the leaves from CottageCutz Leaves and Stem die.
  4.  Add flourishes from the CottageCutz Leafy Swirls die.
  5. Add the sentiment on the CottageCutz Cross Stitched Oval set


Have you checked the new challenge on the CottageCutz blog. The theme is Pocket. So do share your entries to win amazing prizes.


Friday, June 17, 2016

Shaker Pillow Box - VIDEO


Hi, is Vladka and welcome to my new post where I will show you how to create this Pillow shaker box, using CottageCutz dies.


Here is list of all supplies I used:
Cardstock: Blue Cardbase to die cut the pillow box and additional piece of blue paper
CottageCutz Dies: Listed Below
Distress Ink: Peeled Paint
Other: acetate sheet, fun foam, scissors, Sizzix machine, liquid glue, double sided tape, gold glitter

It is always fun to create shaker card and I was thinking that it would be even more fun to create shaker box. So, when I saw Pillow Box Plus die I immediately knew I wanted to try my idea. It is easy to do it, you just need to follow the steps. So, I decided to make the video and here it is:


I love new dies from This N That release, so many beautiful dies and really useful too. Pillow Box Plus die can be really useful to create small gifts for different occasions. And I love all this small additional dies which come together with the main box die.


Thank you for stopping by and for checking the video. And don't forget, third CottageCutz challenge is waiting for you. This time theme is POCKET. You can linked your project here. And please, use only Scrapping Cottage dies.


Wednesday, June 15, 2016

Birdhouse With Vine + Homemade Enamel Dots


Hello Scrapping Cottage friends! Thanks for taking the time to stop and visit today. It's Mary Marsh here bringing you the Wednesday edition of the Blog.

Today for your viewing pleasure, I am featuring a new die set from the May “This and That” release. I have used the Birdhouse with Vine set to create a sweet card of encouragement. You probably know someone that could use a little cheering up and a handmade card is a great way to do that. I just love the detail on the birdhouse roof. CottageCutz dies stand apart with the detail, in my opinion.
 
 
If you have followed the cards I post here on the Scrapping Cottage Blog, then you know that I like to use patterned paper on my cards. I am such a big fan of it and probably have way to much in my stash (lol).

In planning my card, I knew I wanted to use this die set and this patterned paper. So all that was left for me was the layout. I used this sketch for my card and my creative wheels were turning.
 
So let's get started with the details on how I created it.

First, the background patterned paper was actually an envelope that I cut to 4 1/8" x 5 3/8". Just another way to re-purpose our supplies and it was the perfect color for my blue-green card base.

re-purposed envelope
envelope cut to 4 1/8" x 5 3/8" and card base 4 1/4" x 5 1/2"
 
My next step in the sketch was to cut the large circle. I used both the CottageCutz circle and the stitched circle dies because I wanted a wide circle frame. This way all the pretty background paper isn't covered up with other layers. Just another way to do something a little different with the sketch. I simply laid both dies on the magnetic platform of my BigShot machine and cut it.
2nd largest stitched circle and 3rd largest circle die
cut circle size 3 3/8"


Using double sided tape, this was adhered to the patterned paper base. I then cut my rectangle layer using the CottageCutz rectangle dies. I used the 2nd largest rectangle die. I have been asked how I figure out the different shape sizes on a sketch. What I do is look at the sketch and then just guess-timate. I could have made the rectangle a little larger but again I didn't want to cover up the background paper.
 
I cut the birdhouse from a tangerine shade cardstock and the bird and vine in the same blue green as my card base and circle frame. It keeps continuity throughout your card. I stamped my sentiment and added some home made enamel dots.
 
Adhered this panel to my card and then added my ribbon. Since it is only 1/8" wide I wrapped it around the patterned paper 3x. I made a small bow and used glue dots to secure it to ribbon. I used the bow in place of the rectangle piece of this sketch.

Well that's it for me for this week. And as a reminder, we are having our 3rd challenge and this one has a pocket theme. Get more info here. There are prizes to be won so get your craft on with CottageCutz dies and enter the challenge.
 
TIP: I made the enamel dots using Perler beads. They are the plastic ones that kids use for projects. I placed them on a parchment paper lined baking sheet and baked them at 325° for 35 minutes. There is no smell when they are in the oven. They melt into a round shape. I let them cool and then removed them from the pan. I used the same paper and baked another batch. Don't place them too close together or they will melt together.  
 
Until next time...........inky hugs.  
 
http://www.scrappingcottage.com/cottagecutzbirdhousewithvine.aspx
http://www.scrappingcottage.com/cottagecutzcirclesetbasics.aspx

http://www.scrappingcottage.com/cottagecutzstitchedcirclesetbasics.aspx
http://www.scrappingcottage.com/cottagecutzrectanglesetbasics.aspx


Tuesday, June 14, 2016

Red bicycle

Hi, Janja here.

Today I share with you a simple card on which I placed the red bicycle in grass.
Cycling is a great recreation for the whole family.
In Slovenia, cycling is very popular. We have a beautiful bike path for a road and mountain biking.


For the card we need: 
  • white card base: 4 1/4 x 5 1/2", folded
  • watercolor paper: 4 x 5.2"
  • red glitter paper
  • white and color cardstock
  • Distress inks: Broken China, Weathered Wood, Vintage Photo
We paint watercolor paper gently with Distress inks.


Cut out the bicycles from cardstocks in three different colors.


From each of the cutouts, we use a part and compose our bicycle. 


The upper part of the card is filled with ladybugs and inscription. Use a dies from the set of pillow box plus.


Stamp inscription and add green twigs, which we cut with the die garden stems.


Compose the card.
Our bicycle is ready to drive it around. 


And don't forget on our CottageCutz challenge #3 - pocket

Enjoy and have fun.

Janja

List of dies used: