Hello friends!
Yuliya here. Today I share with you my new wedding card. I will be sharing how to make this card using the CottageCutz 3 D Flower dies!


For the card we need:
- ivory card base: 17 cm х 24 cm, folded
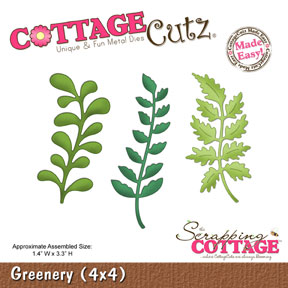
- CottageCutz Plumeria & Leaves (4x4)
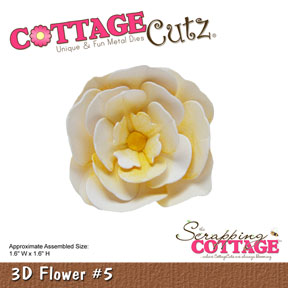
- CottageCutz 3D Flower 1
- CottageCutz Stitched Wide Oval Frame Set (Basics)
- CottageCutz 3D Flower 1
- CottageCutz Stitched Wide Oval Frame Set (Basics)
- CottageCutz Expressions Congratulations
1. Prepare the details for our card: 1 pc ivory card base: 17 cm х 24 cm, folded, 1 pc patterned paper 16,7 cm х 11,7 cm and 1 pc patterned paper 10,5 cm х 15,5 cm
 2. With CottageCutz Stitched Wide Oval Frame Set (Basics) cut the frame out with patterned paper
 3. Glued the die-cuts as it is shown on the picture with help glue tape

 4. Cut out many pieces from CottageCutz 3D Flower 1 die on patterned paper

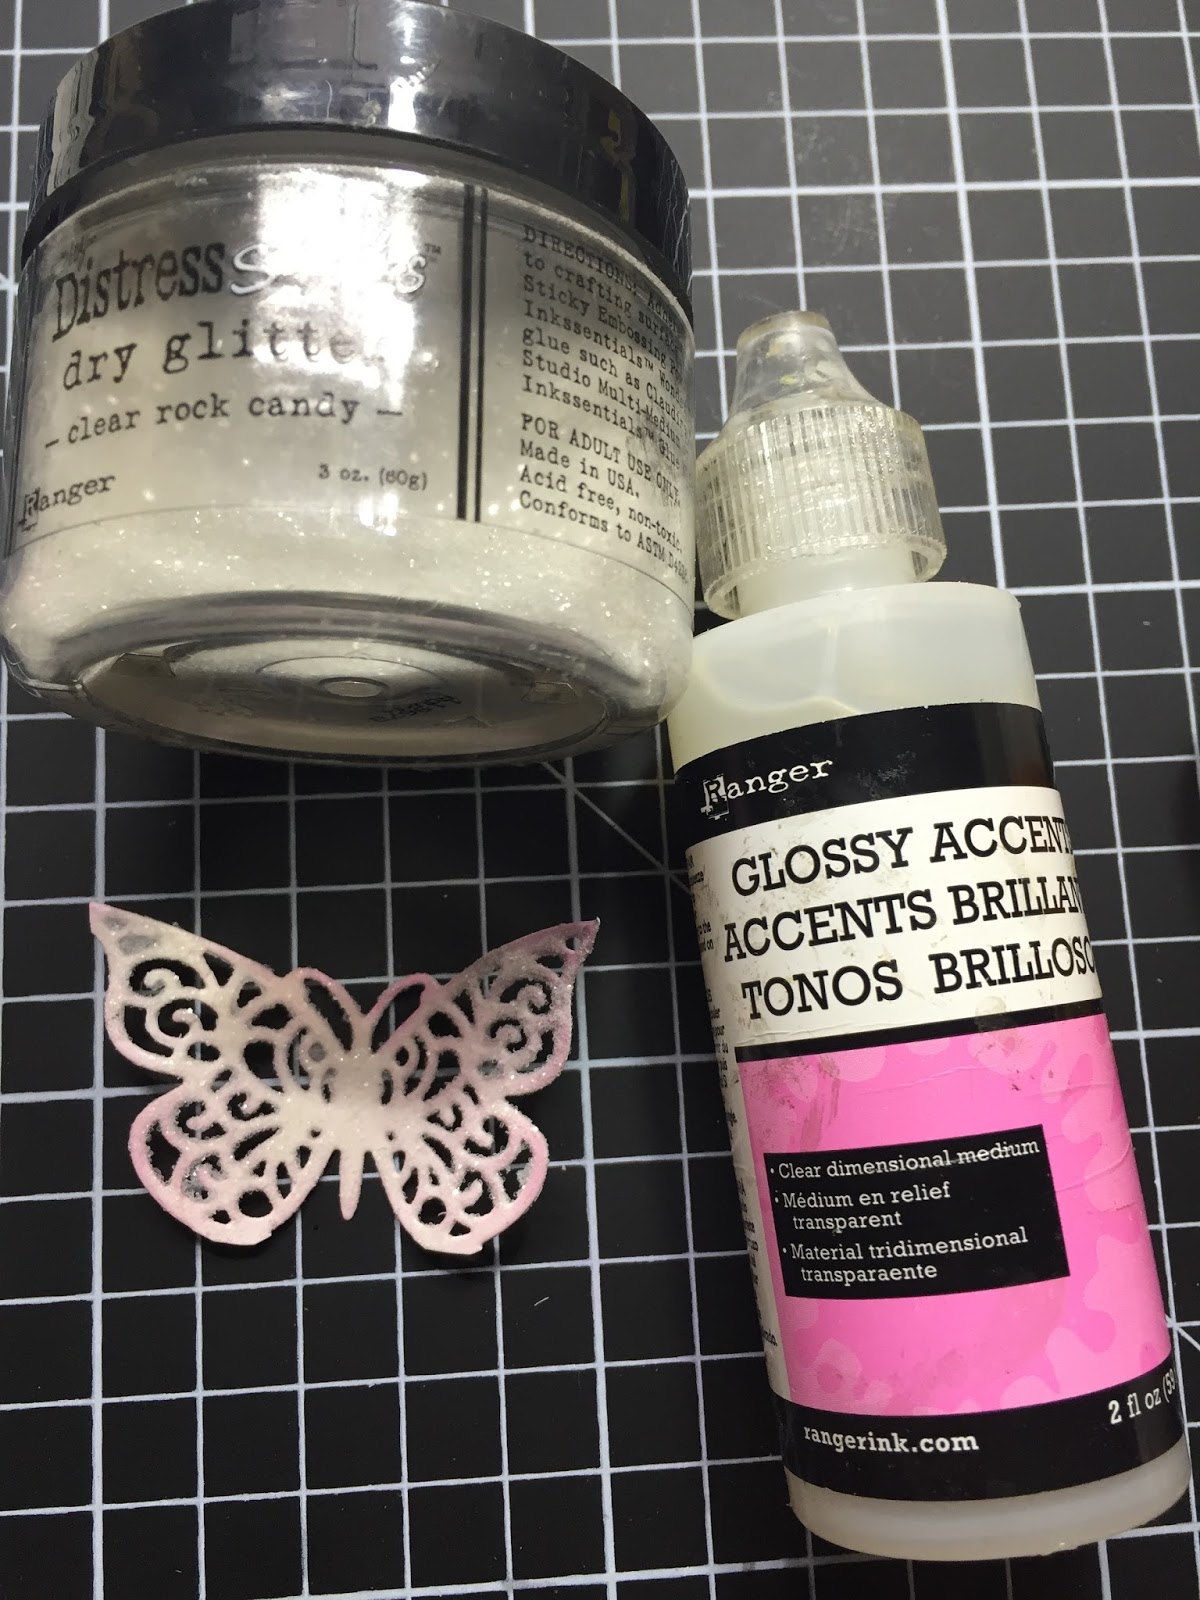
 5. I used my special tool to curl the edges to get the fibers lose.


1. Prepare the details for our card: 1 pc ivory card base: 17 cm х 24 cm, folded, 1 pc patterned paper 16,7 cm х 11,7 cm and 1 pc patterned paper 10,5 cm х 15,5 cm


Cut out many pieces from CottageCutz Plumeria & Leaves (4x4)


Have fun and thank you!
Before I go, I just want to remind you on our second CottageCutz challenge with theme Hello Spring. Link button can be found here!